
In today’s digital economy, launching a membership site isn’t just for tech-savvy entrepreneurs or big-budget startups. With the rise of platforms like Payhip, you can create, launch, and grow your membership business with absolutely no upfront investment. Whether you’re an artist, coach, writer, or educator, this tutorial will guide you through how to launch a membership site with $0, step by step.
Disclosure: This post may contain affiliate links. If you click and make a purchase, I may earn a small commission at no extra cost to you. See Full Disclosure.
Why Launch a Membership Site Today?
A membership site gives you consistent monthly income, helps you build a community, and turns your expertise into value-driven products. The best part? You can start one without needing to code, hire a designer, or even spend a dime.
Benefits include:
- Recurring Revenue: Predictable monthly earnings.
- Community Building: Foster engagement and loyalty.
- Scalable Impact: Serve more people without burning out.
- Personal Branding: Build trust and authority in your niche.
What is Payhip and Why Use It for Memberships?
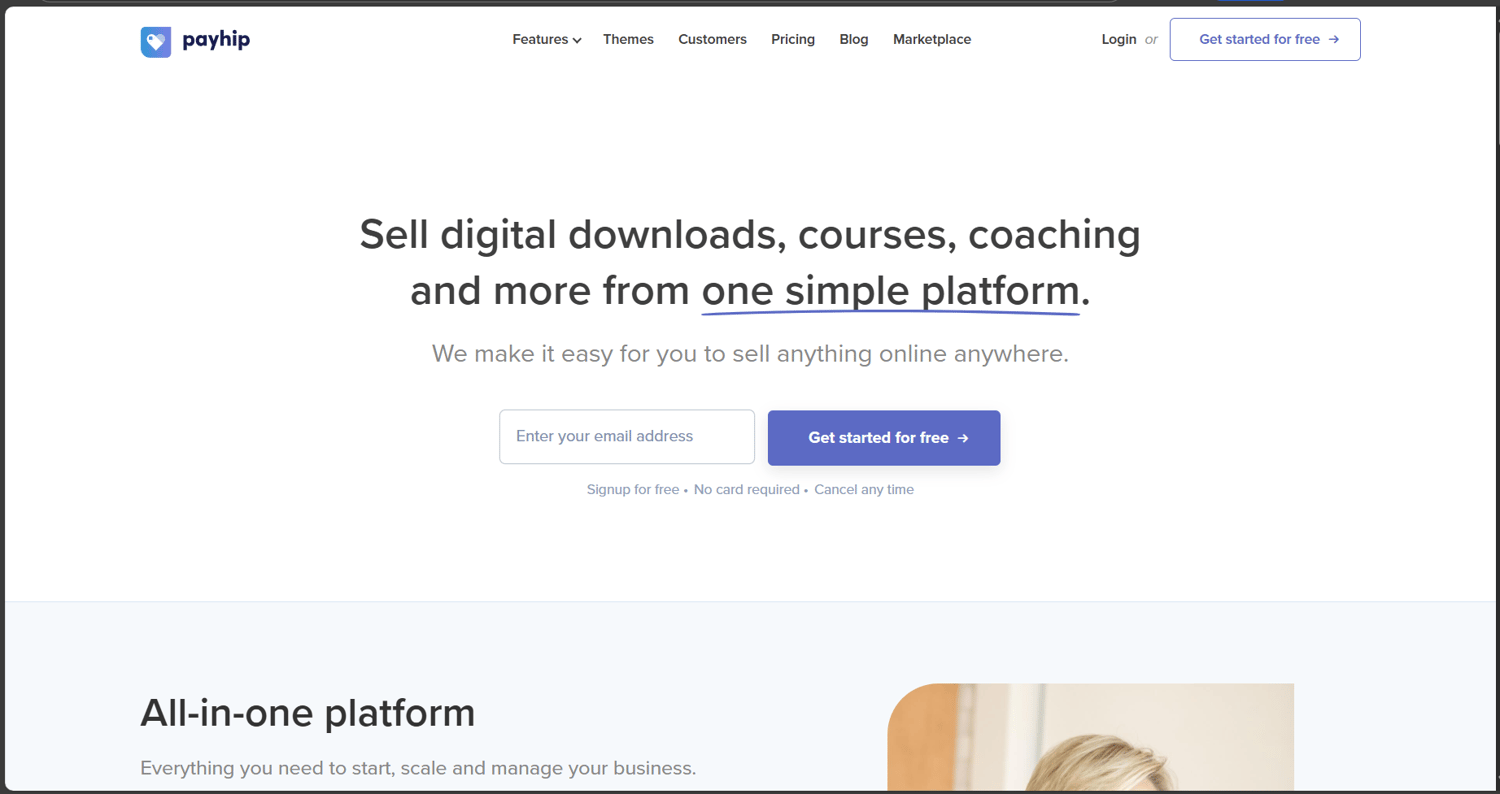
Payhip is an all-in-one digital platform that lets you sell digital products, courses, and memberships without any setup fees or monthly charges. It only takes a small percentage per sale (5% on the free plan), making it ideal for beginners.
Key reasons to use Payhip:
- 100% free to start
- No need for third-party tools or hosting
- Instant delivery of digital content
- Email marketing included
- Clean and customizable storefront
Step 1: Sign Up for a Free Payhip Account
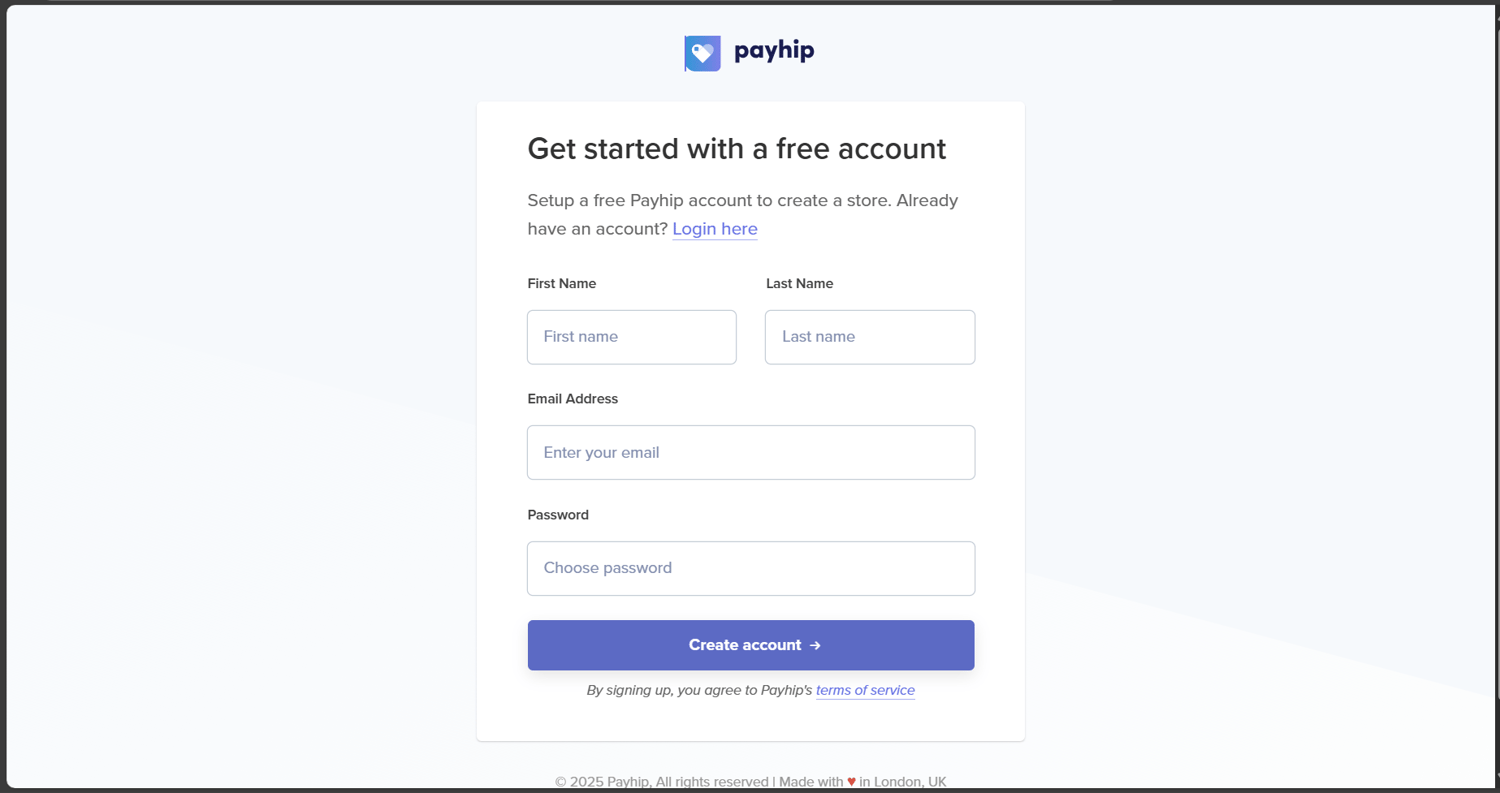
Head over to Payhip and click “Get Started Free.”
- Enter your email and password
- Confirm your email
- Set up your basic profile (Name, Brand, Profile Pic)
You now have a full-featured account without spending a cent.
Step 2: Set Up Your Membership Page
From your dashboard:
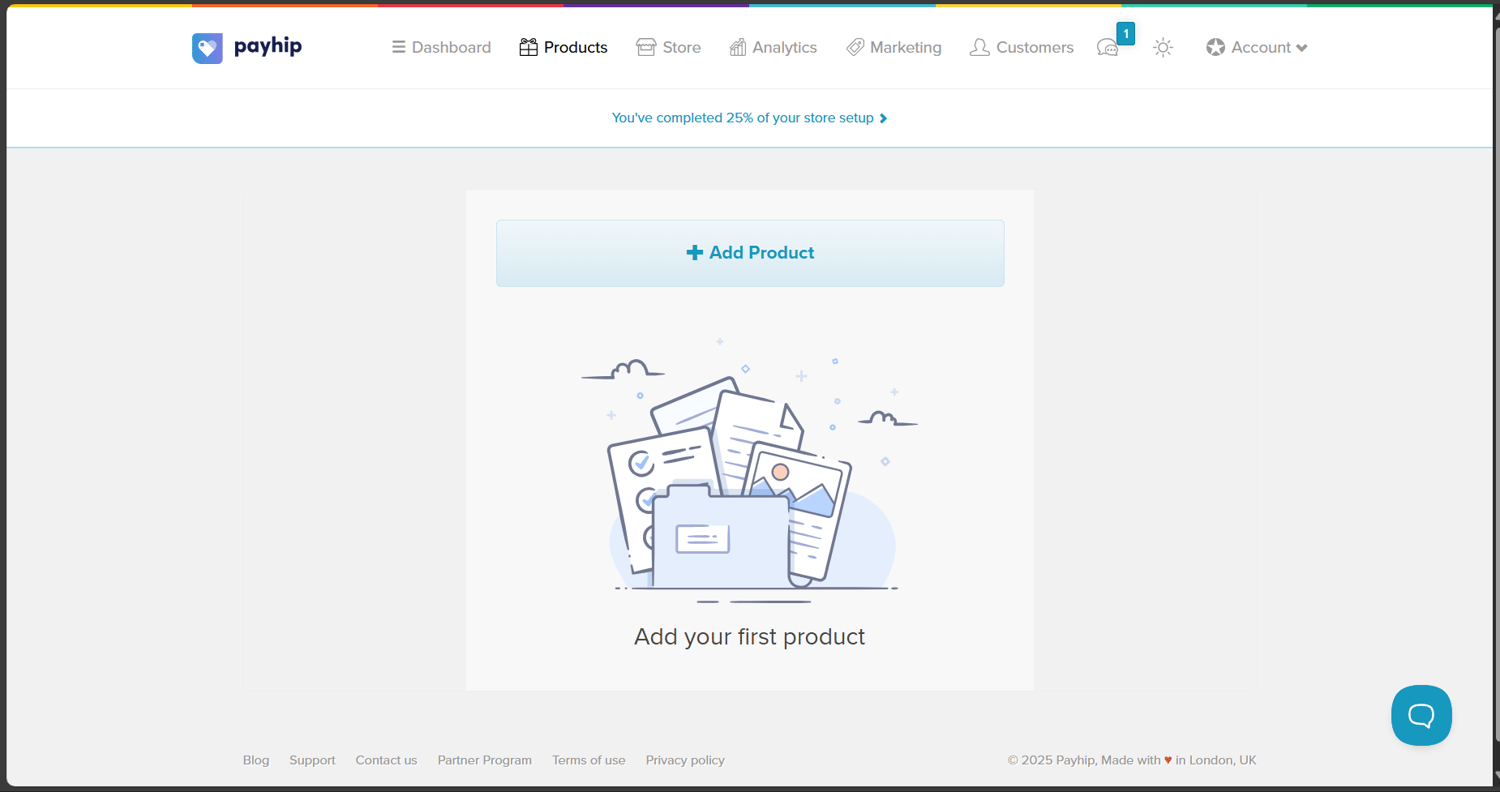
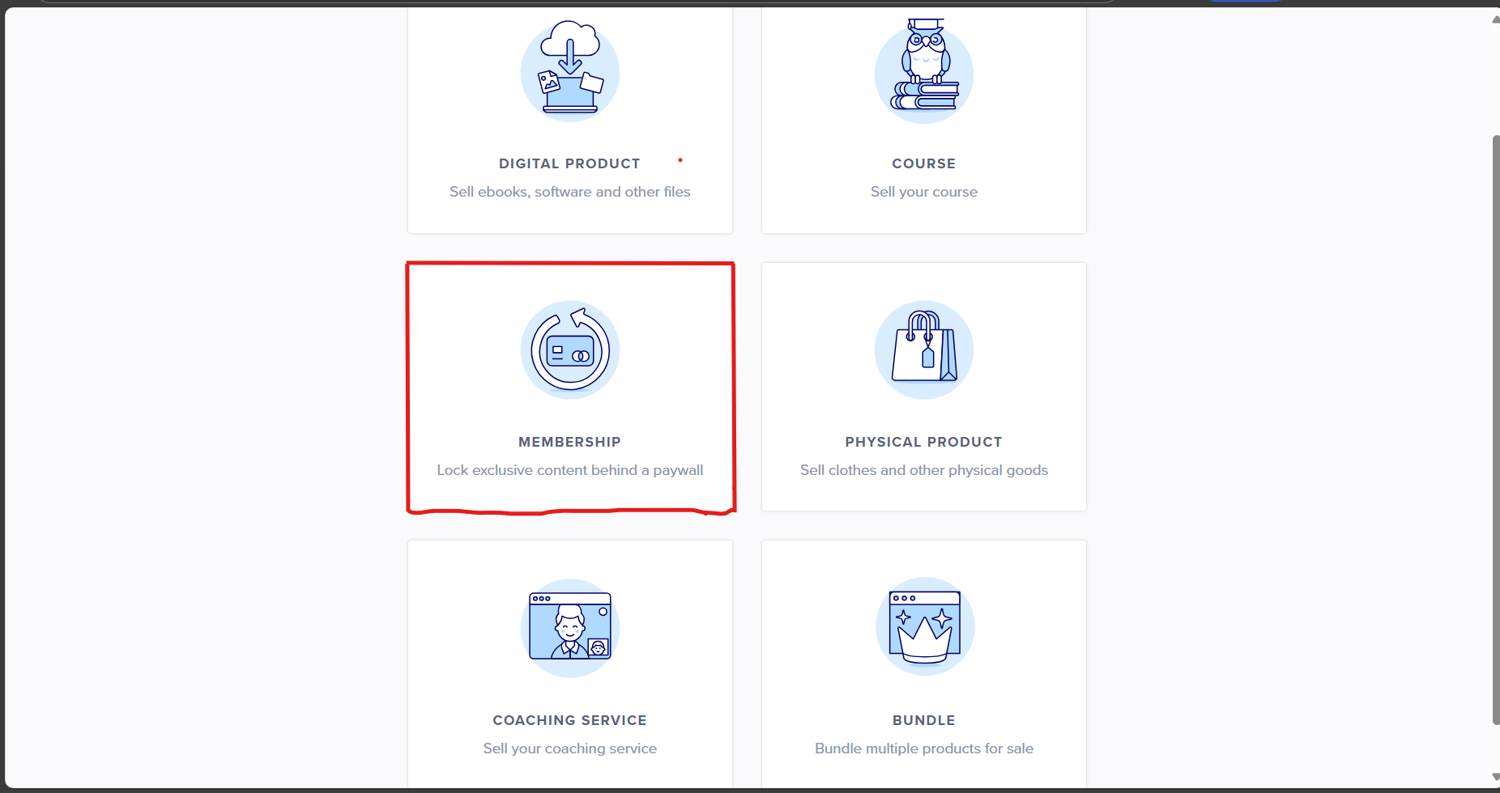
- Click on “Products” > “Memberships”
- Select “Add New Membership”
- Name your plan (e.g., “The Creator Hub”)
- Set the pricing tier: You can choose $0 for a free tier or charge monthly (an example, $15/month)

Choosing a Membership Structure
Payhip supports multiple tiers. Here's how to structure your offers:
You can create a Free Tier that comes with access to basic content and community. Then a Pro Tier that include premium posts and downloads. You're free to go further and add a VIP Tier that gives subscribers access to live sessions and bonuses.
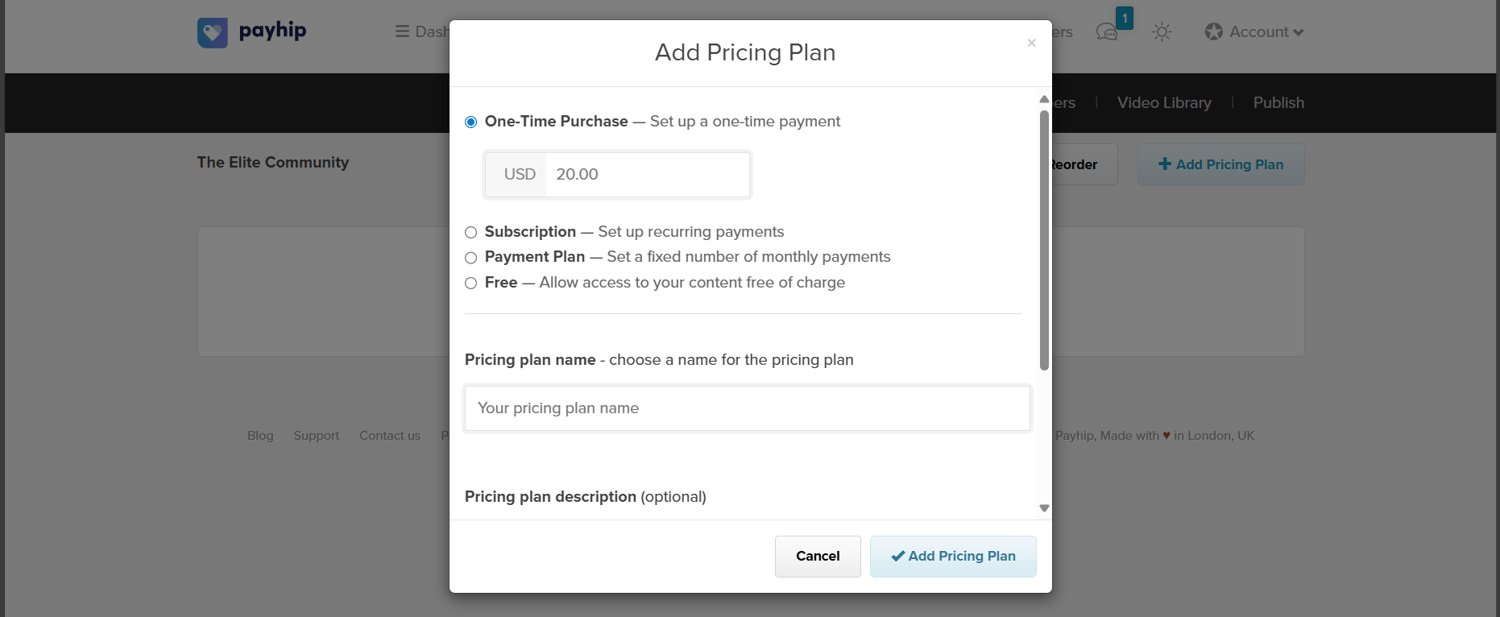
Customizing Membership Details
Add compelling copy, engaging images, and media such as:
- What members will get monthly
- Preview of downloadable content
- Community expectations
- Refund policy
Step 3: Configure Payment Options
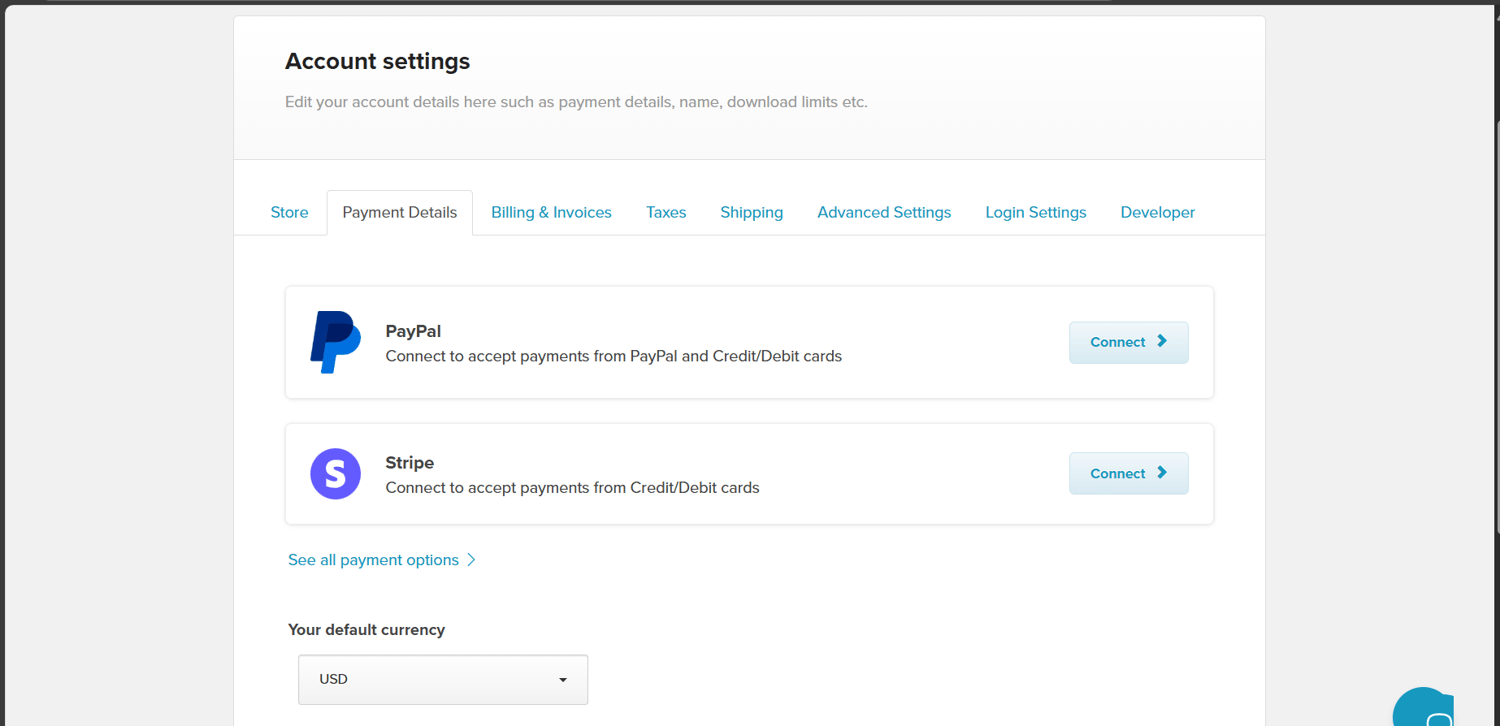
Go to Account Settings > Payment Details and connect:
- Stripe: Recommended for global payments
- PayPal: Ideal for users who already use it
Payhip handles secure checkouts automatically. Payhip also supports other payment integrations aside Stripe and PayPal, depending on your location.
Step 4: Add Valuable Member-Only Content
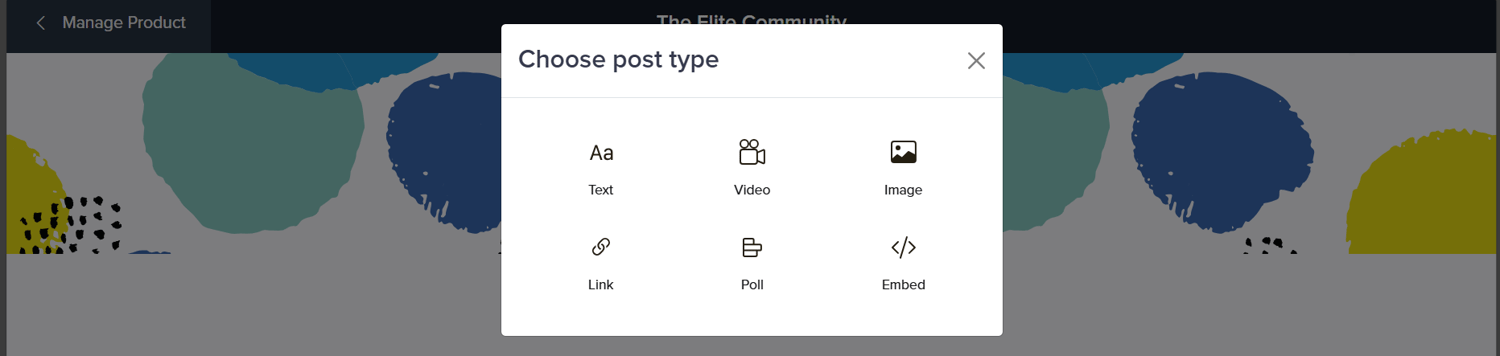
This is where your value shines. Inside each membership tier, you can add:
- PDFs, eBooks, worksheets
- Video tutorials
- Locked blog posts or articles
- Zoom replays
- Templates
Content Scheduling and Drip Features
You can drip content weekly/monthly using Payhip’s built-in scheduling tool:
- Build anticipation
- Encourage longer membership retention
- Provide structured learning
Step 5: Design a Professional-Looking Site
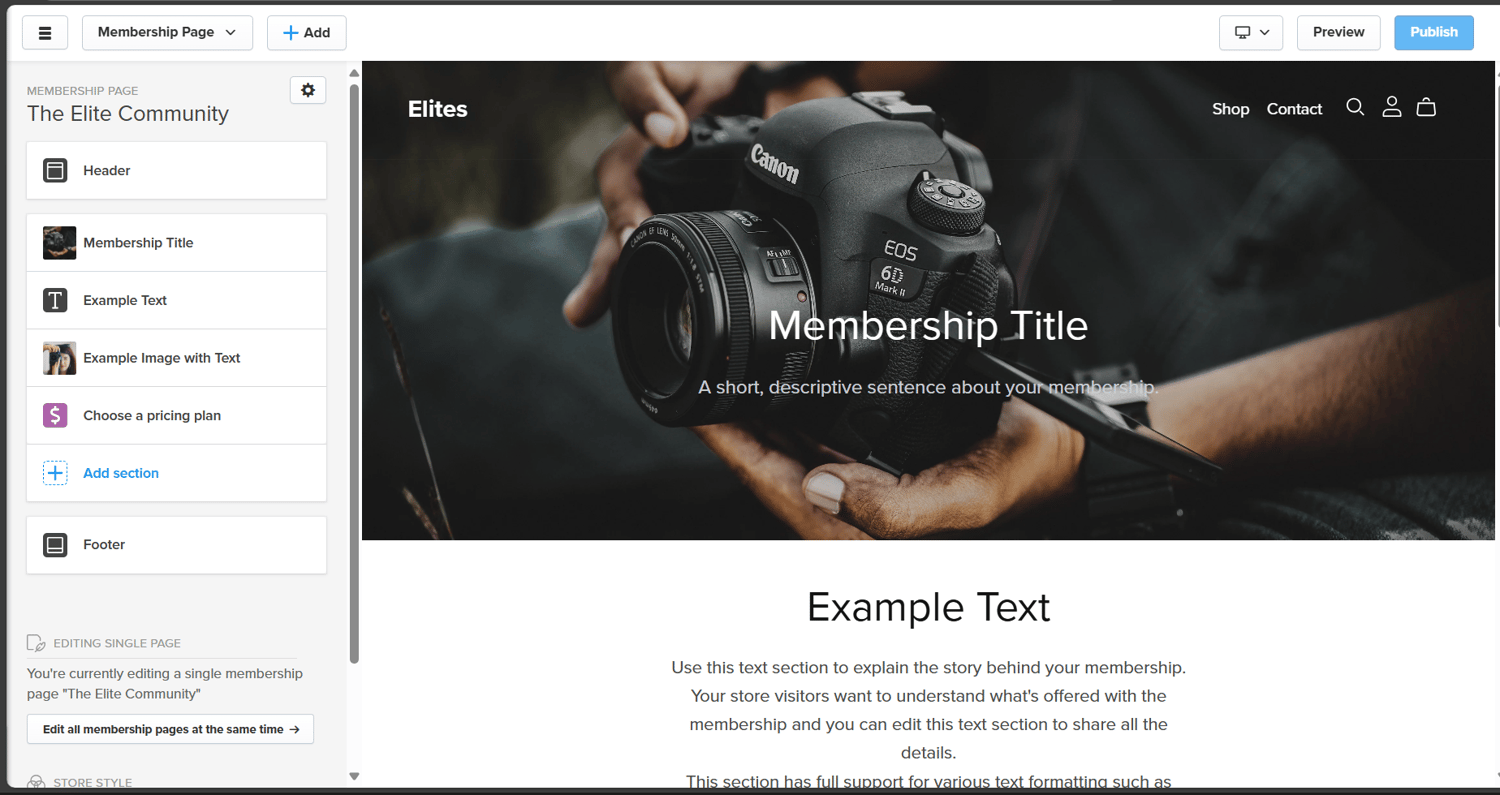
Payhip offers a free site builder with drag-and-drop functionality.
From your dashboard:
- Navigate to Store Builder
- Add a banner, welcome message, images
- Create a “Join” page linking to your membership product
Integrate Your Logo, Brand Colors, Fonts
Customize your storefront with:
- Hex color codes for brand consistency
- Free logo (use tools like Canva or Looka)
- Choose fonts that reflect your brand voice
Add a Blog or Announcement Section
This keeps your audience engaged and improves SEO. Use it to:
- Announce new content
- Share member spotlights
- Offer tips or insights
Step 6: Enable Email Marketing (Free)
Payhip includes email tools so you can send:
- Welcome emails
- Weekly updates
- New content announcements
You can also build email funnels based on customer activity. For example, you can send email updates to only customers that purchased Product A or a free product you listed on your store.
Creating Free Lead Magnets
Offer freebies like:
- Mini eBooks
- Worksheets
- Free course access
Link these to your membership to nurture leads into paying members.
Step 7: Launch Your Membership With No Cost
You don’t need ads to go live.
Promote Organically Using Free Tools
- Pinterest, Twitter, TikTok and Instagram Reels
- Join Facebook groups or subreddits
- LinkedIn posts and carousels
- Leverage YouTube Shorts
Collaborations & Affiliate Options on Payhip
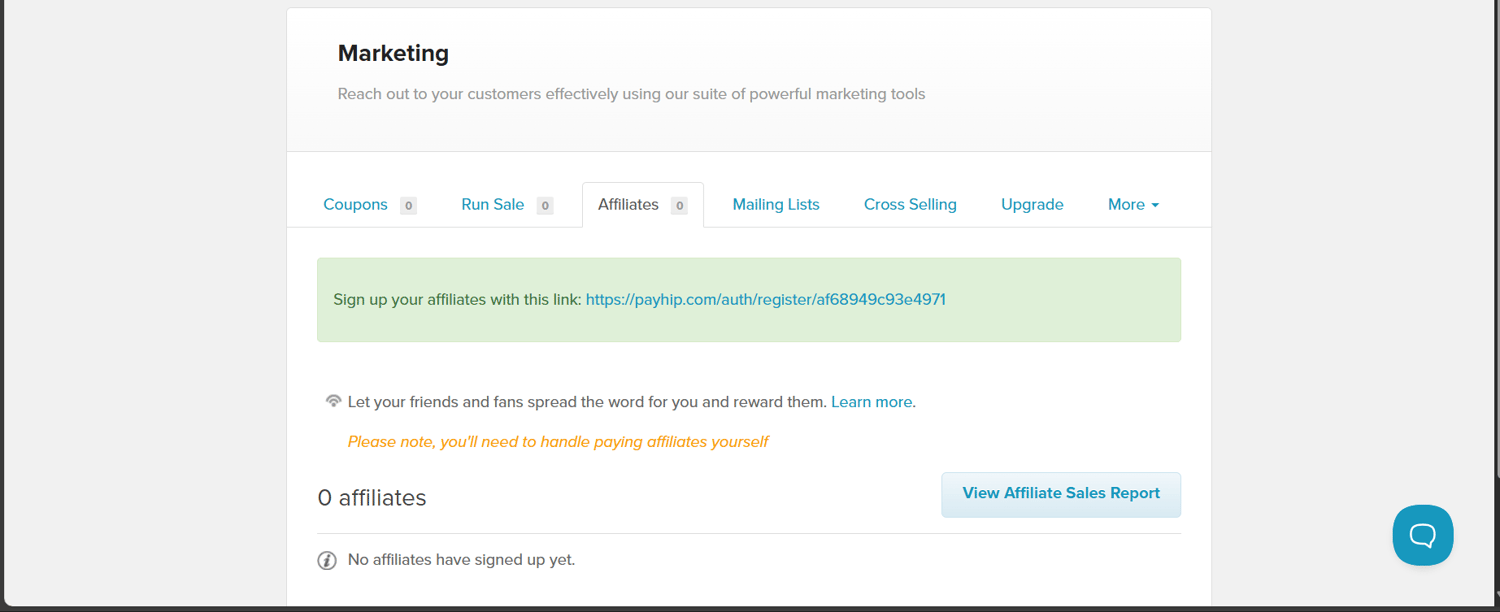
With Payhip, you can start your own affiliate program and manage payout within your dashboard.
- Activate Affiliate Center on Payhip
- Set up custom commission rates
- Invite influencers or loyal fans
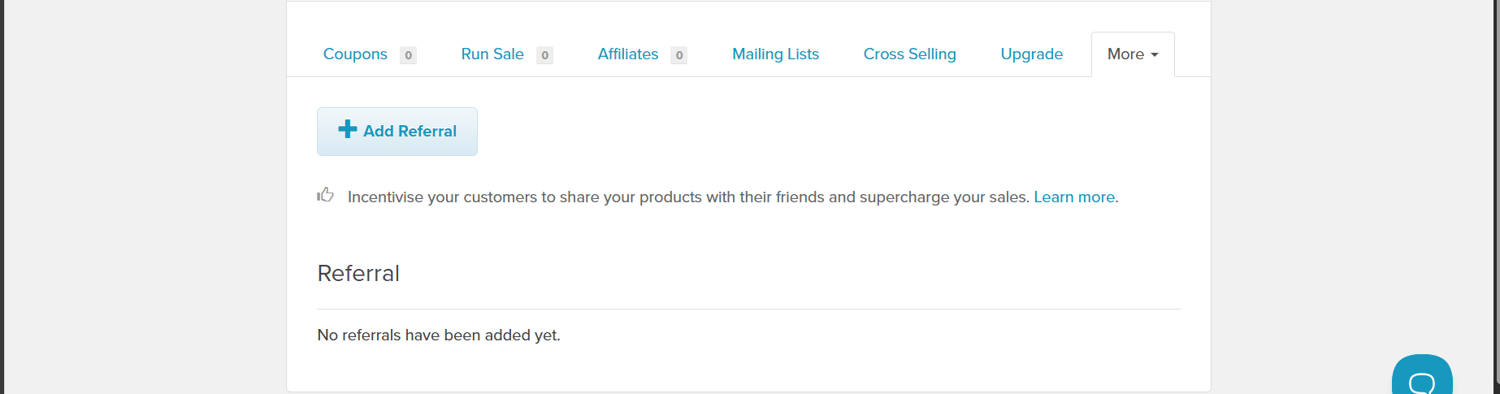
It’s a win-win that requires no marketing budget. You can also set up a referral program within your dashboard and give referrers and their friends a percentage off their purchase.
Another great feature of Payhip, is that customers have the option to gift any product to someone else like a friend during checkout. So, customers have the option to gift your membership to their friends.
Step 8: Maintain & Grow Your Community
To keep members subscribed:
- Run monthly Q&As or Zoom calls
- Ask for feedback with Google Forms
- Celebrate member wins
- Drip regular, high-value content
Build a culture where people feel seen and appreciated.
Success Metrics to Monitor on Payhip
From your analytics tab, track:
- Member retention rate
- Revenue per tier
- Most popular content types
- Email open and click rates
This helps you double down on what works.
Frequently Asked Questions
1. Is it really possible to launch a membership site for free?
Yes! Using Payhip’s free plan, you can launch, host, and monetize without spending anything upfront. Payhip does not gatekeep any of their feature on its free plan.
2. How does Payhip make money if it’s free to use?
Payhip takes a 5% fee per transaction on the free plan. This covers their costs while allowing creators to start for $0.
3. Can I switch from free to a paid plan later?
Absolutely. As your site grows, you can upgrade to reduce transaction fees or unlock advanced features.
4. What kind of content works best in memberships?
Value-driven digital products: templates, exclusive articles, courses, behind-the-scenes videos, or coaching materials.
5. Can I integrate Payhip with my website or social media?
Yes. Share your Payhip link across your socials, email newsletter, or even embed it on a personal website.
6. Do I need to be tech-savvy to use Payhip?
Not at all. Payhip is beginner-friendly and requires zero coding or design skills.
Start Your Zero-Budget Membership Journey Today
There’s never been a better time to turn your knowledge, passion, or skills into a sustainable, scalable business. With tools like Payhip, the barrier to entry has been shattered. You now know how to launch a membership site with $0 so why wait?
Launch Your Membership for Free With Payhip →
Related Articles
- This 4 Sites Lets You Sell Digital Products Free Forever – Beginner-Friendly Picks
- The Best Free and Paid Website Builder According to Needs in 2025
- Sellfy Review 2025: The Ultimate All-in-One Platform for Digital Creators & Small Businesses?
- ClickFunnels Review: Is It Still the Best All-in-One Funnel Builder in 2025?